Pages

Wednesday, September 8, 2010

A Tip for Journaling on Your Layouts

When I think about the most important aspects of a scrapbook layout I think of the photos, the memories, and the stories behind those photos and memories, AKA journaling. 

Years from now when my kids look at their albums the pictures will be exciting for them to browse...but they will probably be just as intrigued by the stories behind the pictures...they might want to know more details about the event than the pictures can ever depict.  They might want to know things like my feelings, the description of the smell of a holiday dinner cooking, reactions and conversations between people in the photos...things that they will not be able to see.  This is where journaling becomes an integral part of my scrapbooks and layouts. 

I probably journal on 95% of my layouts.  Sometimes I scrapbook a layout months, or even years, after I take the pictures...there is no way I can remember details from a funny day at the park 18 months ago, or the lyrics to a song my daughter "made up" in a long car ride last June, or the menu at Mother's Day 3 years ago...UNLESS I write them down when the memories are fresh! 

I have tried a few various methods for recording these memories...I tried keeping a calendar next to my bed and jotting down a little important information every day, this method proved to not have enough "space" to record the information I needed.  Keeping a traditional "journal" is too time consuming for me.  I would have to first write the entry, then later read and re-read it to pull out the important information that "might or might not" relate to my pictures.  This was becoming a waste of valuable scrapbook time!  I finally found a system that works wonders for me.  If you think it might work for you, give it a try.  At the very least, you will not be at a "loss" when it comes to journaling your layouts because you will have some information about the events to journal about.  This is what I do...

Every 2-3 weeks I grab my camera and a stack of 3"x5" index cards.  As I go through and "review" the photos on my memory card, I write notes about each event on an index card.  Each index card contains the information for a single topic or event.  At the top left hand side I write the topic/event/description of the pictures I have taken.  On the top right hand side I make a note of how many pictures I took of the event.  Sometimes I only take 2-3 pictures (of an "everyday" event)...sometimes I take 100 pictures (of a birthday party or Christmas morning). 

If I take a large amount of photos, I'll write a list of specific layouts I want to create for the event.  For example a birthday party list might have the following...

  • decorations

  • cake and food

  • guests

  • birthday girl/boy

  • blowing out candles

  • opening gifts

  • playing games
...In this case I make a separate index card for each of these "sub-categories"--not only am I organizing my journaling with these index cards, but I am also managing my overall layouts in my albums!!!

After I have described the event and noted the amount of photos I took of the event, I write down the date and day of the week of the event.  If I have any memorabilia (ticket stubs, programs, etc.), I also jot a note down about what I have so I don't forget to include these things when I scrapbook the layout.  I am now able to start taking "journaling" notes.  I write down my thoughts, feelings, notes, and other information that isn't "visible" in the photographs.  There are many books and website available for tips on "how to" journal better and more creatively in your scrapbooks.  My main concern right now is to get the memories down so when it comes time to do the actual journaling on a page I can remember what happened.  I can go back later and elaborate, correct spelling errors, and fix grammatical errors.  If I have these notes to help me remember what happened, I can utilize the "how to journal" articles at a later time...such as how to make my journaling more interesting, more vivid, and more cohesive.  If I cannot remember the basics, I will never be able to elaborate on the journaling and make it more interesting. 

Sometimes I choose not to elaborate on my original notes, I will simply re-write them "as is" on my layout.  The point is, I am able to include the important aspects of the event, as if it were fresh in my mind.  Whether I decide to elaborate on the journaling from my notes, or pare it down to a few quick sentences, it is right there in "black and white" and I do not have to try to remember the details.  If I have an idea for a Page Title I will also include it on the index card so I won't forget that either!

This is an example of one of my journaling index cards...

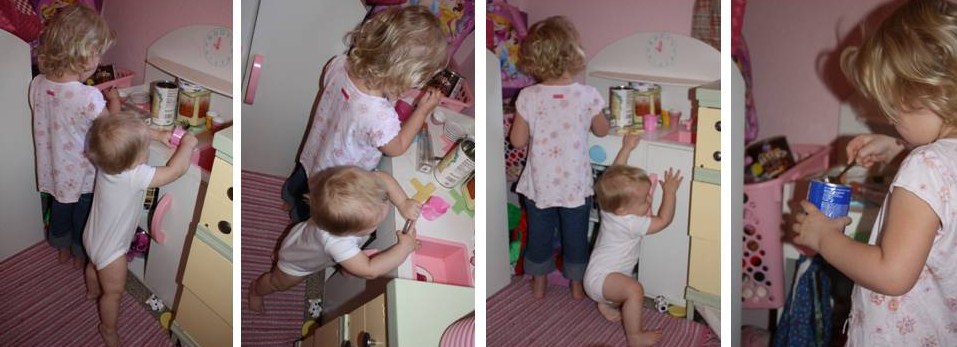
These are the pictures that go with this journaling...


Have fun getting those memories on paper while they are still fresh!!!

Monday, September 6, 2010

How to Download and Install Fonts to Your Computer

Sometimes you may want to add computer generated journaling and/or titles to your scrapbook layouts.  Over the years, I have taught many people how to download and install fonts to their computers.  I decided this would probably be a valuable post on my blog as well.  Follow these steps to install a font on a PC. (I am not familiar with Mac's, so I do not know how to install a font on a Mac.)

STEP 1:  Find the font you wish to install.  These are some of my favorite sites for downloading free fonts...

http://www.scrapvillage.com/fonts.htm
(this site has some great fonts for scrapbooking )

http://www.1001freefonts.com/afonts.htm
(this site has TONS of free fonts)

http://www.dafont.com/
(another great site that you can browse by font style)

http://www.disneyexperience.com/customize/fonts.php
(this site has LOTS of free Disney fonts)

*note---please be careful where you download your free fonts from, I have known of a few instances where my friends have accidentally downloaded a virus along with their font.  I stick to these popular free font sites to avoid downloading a virus. 

STEP 2: Follow the prompts on the web site to download the font.  Sometimes you will click on the font you wish to download, sometimes you will click on a "download here" button.

STEP 3: The window that appears will ask if you wish to "save" or "open" the font...
         -If the font is in a "zipped" file, I choose "open". 
                          -A new window will appear, right click on the font and "copy".
                          -Go to your desktop, right click and choose "paste". 
         -If it is not zipped, I choose "save" and save the file to my desktop.

STEP 4: Once you have saved the font to your desktop, you need to add it to your "fonts" folder.  To do this, begin by clicking on the "start up" button on your computer.

STEP 5: Click on "Control Panel".  This opens the control panel of your computer and inside there are many folders, one will be called "Fonts".

STEP 6: Open the "Fonts" folder and drag the icon of the new font you just saved to your desktop into the "Fonts" folder that you now have open.  Close the "Fonts" folder.

STEP 7: You can now delete the font icon from your desktop, since it is already saved in your "Fonts" folder.

STEP 8:  Open a word processing program, such as Microsoft Word.  Scroll down the list of fonts and you should see the font you just installed.  Click on the font and type your text. 

It's not difficult to find and install a new font, and it only takes a minute or two once you get the hang of it.  By adding some decorative and cute fonts to your computer, you will be able to create some interesting journaling and titles on your scrapbook layouts.  If you run into problems, or do not understand my instructions, you can always search "YouTube" for a video about how to install a font...then you can actually "see" the computer screen and "see" someone following the steps that I have described.

Saturday, September 4, 2010

Wordle.net for Your Scrapbook Layouts

I once found out about a really cool web site that I thought I could utilize on some of my scrapbook layouts... I am sad to say, I have yet to actually utilize it on a page, actually I had forgotten all about the site until I was scrolling through my "favorites" menu the other day and saw http://www.wordle.net/ .  Wordle.net generates "word clouds" using your choice of words.  What a great idea for an embellishment on a scrapbook page or a card!   You can type any words you want, change the font, colors, and basic "word cloud" format...then keep clicking and re-generating the cloud until a combination you like appears.  You are then able to print your word cloud out and save it to the Wordle Gallery.  You can also browse through the gallery to see what others have created. 

Here is one quick example I created that I will hopefully use on a Disneyland layout about Snow White and the Seven Dwarfs...


Here is another one for a 4th of July layout...


Here is one more for a layout about my son, Hunter...


Wordle.net has an extensive FAQ page which can answer just about every question about creating these "word clouds", so if you can't figure something out, try looking at the FAQ list, I'll bet you can find your answer!

Friday, September 3, 2010

Thrift Store Finds for Scrapbooking

I love getting my scrapbook supplies at a discount...and I love using "found" items in my albums...put these two loves together and you get "Thrift Store Shopping"!!!  In the past few weeks I have found some various items at my favorite thrift stores.  The following are among my favorites...


Plastic doilies-  I believe these are vintage, flexible, plastic doilies.  They have about a 6-7 inch diameter.  I found a bag of 7 doilies (2 different designs) this past Monday.  It cost 50 cents for the bag of doilies.  I almost passed them up, then I thought I could use them as a "mask" for Glimmer Mist.  Boy am I glad I decided to purchase them!


I gave one doily of each design to my friend, Shawna, and she IMMEDIATELY decided to test them out with acrylic paint.  She used them like a stencil, with red acrylic paint, and made these beautiful Christmas cards in no time flat...


Woven tape measure- Another vintage find was this tape measure made out of woven fabric.  It has been naturally distressed through years of use.  It was 25 cents and since I rarely (if ever) see fabric tape measures anywhere, I snatched it up!


I used it on this layout of my mom, my kids, and I at 50's diner in Denver...I thought the vintage tape measure fit in with the old fashioned feel of the diner.


Ledger Books-  I found two old ledger paper pads at the thrift store this summer as well.  They were 25 cents each.  Although I haven't used them yet, I love the look of ledger paper on a layout, and I know I will use them soon!  My dream "find" would be a vintage ledger book filled with information in beautiful handwriting!


1995 Disneyland Map-  This was for sale for 50 cents at a thrift store...I can't wait to cut it up and use it to embellish layouts of our future trip to Disneyland.


English/Spanish Flashcards-  Two weeks ago I found 2 complete sets of these flash cards for $3 each.  One side of the cards has the Spanish word/phrase and the other side has the English word and definition.  I believe each set has about 600 cards.  I was so excited to find these.  I bought one set for myself and gave the other set to my friend, Shawna.  What she doesn't want, I 'll share with some of my scrapbooking friends. 


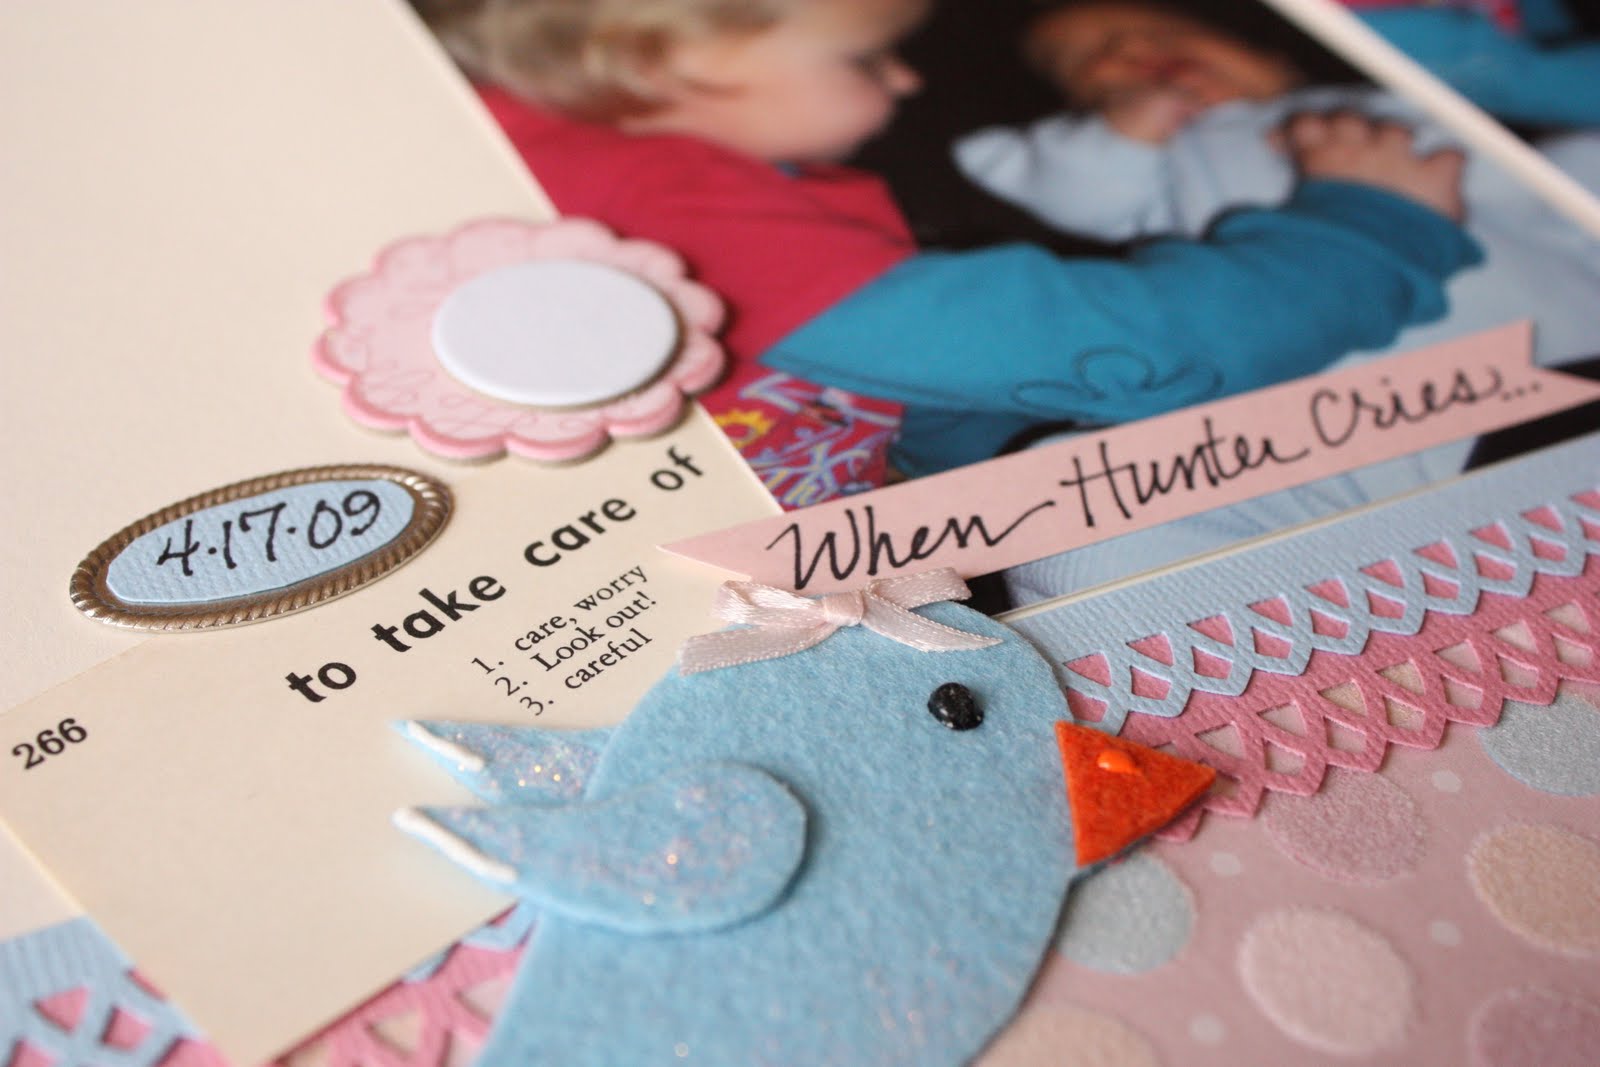
I have already made 2 layouts using these flashcards...one is about how Maddy "takes care of" Hunter and the other is embellishing a page about Hunter at 5 weeks old!  I love these tiny flashcards and I know I will use them on many more layouts to come.  I will definitely get my $3 worth out of them!


Vintage Hymnals and Children's Books-  I went to a yard sale about 6 weeks ago and "hit the jackpot" on vintage books and hymnals.  I picked up about 8 books for 25-50 cents a piece.  The handwritten dates in the inside covers and the copyrights ranged from the 1880's-1940's.  I am sure I got them for SUPER CHEAP compared to what I would have paid at an antique store! 


I tear the pages out of the books to use on my layouts.  I also cut the pictures out to create unique, one of a kind embellishments.  I made this layout about the "Denver Museum of Miniatures, Dolls, and Toys" using some illustrations of children playing with toys.  I got the illustrations (and the type) from a book of Nursery Rhymes dated Christmas of 1889!!!


Vintage Sewing Patterns-  I also picked up two vintage dress patterns to cut apart and use on my layouts.  I created flowers out of the patterns for the same layout about the Denver Vintage Doll and Toy Museum.  Some layouts really lend themselves to using vintage items as embellishments such as these.


I have found many more precious items at thrift stores and yard sales...these are just a few of my recent, favorite finds.  I always keep my eyes peeled for new treasures...it's so much fun!

Making Your Own Jouranling Blocks

Ok, so maybe I don't want to just focus on organization day after day...I think I will just update with whatever inspires me.  Today I am inspired by making my own journaling blocks!  I LOVE to journal on all of my scrapbook layouts and I love all the cutsie little journaling spots.  But sometimes they are just a little too small for me...and sometimes I don't want to spend alot of money on them.  My solution...MAKE MY OWN!!!

I follow these simple steps to create my own journaling blocks...

1. Decide on a theme...for these journaling blocks I choose Halloween

2. Browse "google images" for a cool picture or piece of free clip art...in this case I searched "vintage Halloween".

3. Right click on the image you want to use, "save as" somewhere on your computer.

4. Open a program to create and edit your journaling block in...I like to use Power Point because it's simple and I'm familiar with it.

5. "Insert" the "picture" you saved off of the Internet and re size it.


6. Create a smaller "text box" to place on or next to your picture.  Fill it with "underscores/lines" by holding down the "shift" key and the "dash" key on your keyboard.


7. Select the new text box and choose "format" from the main menu.  Now you can change the line thicknesses, fill colors, transparency, font size, and any other aspects you wish to adjust on text box to make it "pop".  This may take a little experimentation.  I never knew I could do so much in Power Point until I started playing with all of the "format" options.


8. I sometimes "save as" a .jpg file (optional)--especially if I want to print the journaling spot at a smaller scale.

9. Print your journaling block on cardstock at the desired size.

It's very easy to create your own journaling blocks...the best part is they are personalized to what you want and are limited only by your creativity!!!

Here are some more examples of journaling blocks I have created...


Trick or Treat Journaling Block
Holy Hobbie Journaling Block
101 Dalmations Journaling Block

Out of this World Journaling Block

Wednesday, September 1, 2010

My First Post

Today I decided I wanted to start a blog about all things scrapbook related.  I love sharing my ideas, tips, photos, and layouts with my friends and family...and I'm pretty sure my Facebook friends are sick of seeing scrapbook related stuff!!!  So here goes nothing...


I think I will start my blog entries focusing on my scrapbook stash organization, the picture below is a "before" re-organization picture.  This was my scrapbook room in March of 2010.  WOW!  It's no wonder I couldn't find anything anymore!  I was hardly creating layouts anymore and had really hit a scrapbook rut.  The one thing I did continue to accomplish (thankfully) was to continue taking pictures.  Every single day from January 1, 2010 until mid-May 2010 I took at least one photograph.  Although my scrapbook "mo-jo" was nowhere to be found, at least I have pictures to document life when it returns!


For now, I believe I will focus each entry on another area of my newly organized room...so until next time...HAPPY SCRAPPING!